How To Color Chocolate: Your Guide To Creating Attractive White Chocolate, Modeling Chocolate, and Candy Melts
Chocolate is a universal favorite. With the right technique and an artistic touch, chocolate can be colored and shaped in a variety of forms - improving the overall aesthetic value of the offering. Not only does this enhance the marketability of the product, but it is also a display of culinary craftsmanship. This can help you engage with your customers better and improve the sales and impression of your establishment.
Coloring chocolate is not as complicated as some may think. The process requires an understanding of chocolate, food coloring, and the precautions that need to be taken when following the process. Knowing how to color chocolate can also help you offer special treats such as chocolate lollipops, artisanal chocolates, and specially crafted chocolates for occasions - something that can boost your commercial kitchen’s variety.
We discuss how to make white chocolate, how to color chocolate, & modeling chocolate so that you can easily produce attractive confections and candies for your customers.
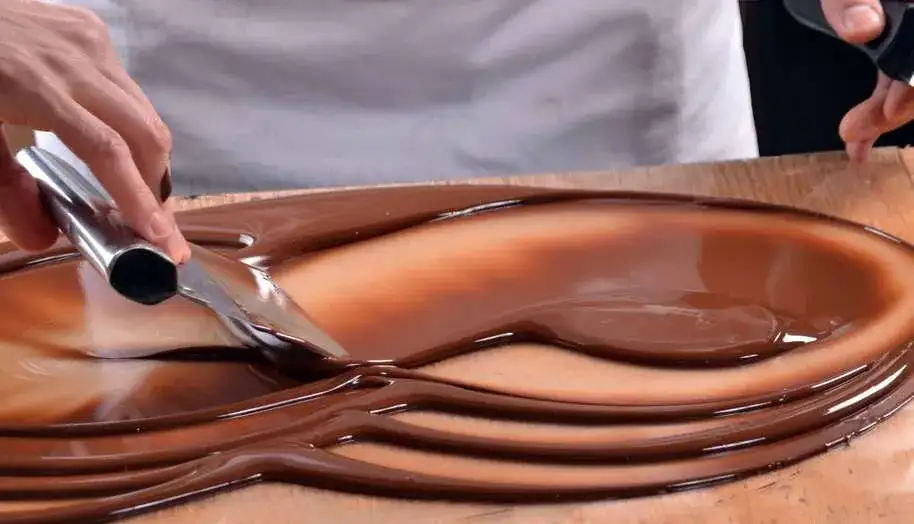
What Is White Chocolate?
Before we understand how to make white chocolate and how to color it, it’s important to understand what it is and revisit the basics. White chocolate is not technically chocolate at all - much to the surprise of most people. It is instead made of cocoa butter, the natural fat that is found in cocoa beans. White chocolate is made by combining cocoa butter, milk powder, lecithin, flavoring agents like vanilla essence, and in some cases, spices like ginger. Cocoa butter remains the main ingredient of white chocolate, and the small white specks you see on aged cocoa beans are in fact cocoa butter separating from the bean.
Modeling chocolate, on the other hand, is made by melting and combining chocolate with a sugary syrup to make its texture more pliable. It’s also called candy clay or chocolate leather due to its consistency and use in confections.
How to Make White Chocolate?
Before we understand how to color chocolate, let’s learn an easy method to prepare white chocolate. The recipe involved is fairly simple and can also be scaled up for larger quantities of white chocolate to serve large batches to your customers. All the white chocolate ingredients can be easily sourced and used to make high-quality chocolate for your customers.
- What You Will Need:
- Two ounces or a quarter cup of cocoa butter
- One-third cup of powdered sugar
- Two teaspoons of milk powder
- One-fourth teaspoon of vanilla essence
- A pinch of salt
- Equipment
- A saucepan
- A heatproof bowl
- A chocolate mold
- Refrigerator
- Stove
- The Procedure
- Boil some water in a saucepan. Make sure the water level is about two to three inches from the bottom of the pan.
- Place a bowl in the saucepan over the boiling water, however, make sure the bowl does not come in contact with the boiling water.
- Add the cocoa butter to the bowl and make sure it melts evenly by stirring it around with a spoon or a wooden ladle.
- Add the powdered sugar into the melted cocoa butter in small batches and ensure all of the sugar mixes with the cocoa butter evenly.
- Stir the milk powder into the melted mix of cocoa butter & sugar slowly, and make sure there are no lumps in the mixture.
- Add in a pinch of salt and the vanilla essence and stir further.
- Make sure the consistency of the mixture is flowing and turn off the stove.
- Either scoop or spoon the mix into the chocolate molds. Tap the molds gently once the mixture has been spooned into them to remove any air bubbles.
- Allow the chocolate to set at room temperature for about half an hour, followed by placing the molds in the refrigerator.
- Refrigerate for at least an hour and ensure the chocolate has set completely.
- Remove from the mold when you’re sure the chocolate is firm in both shape and consistency.
- Store the chocolate in a cool and dry environment to ensure it lasts long.
This recipe should allow you to prepare clean, safe, and delicious white chocolate in your commercial kitchen. It requires only basic equipment and can be used to produce chocolate in large quantities if required.
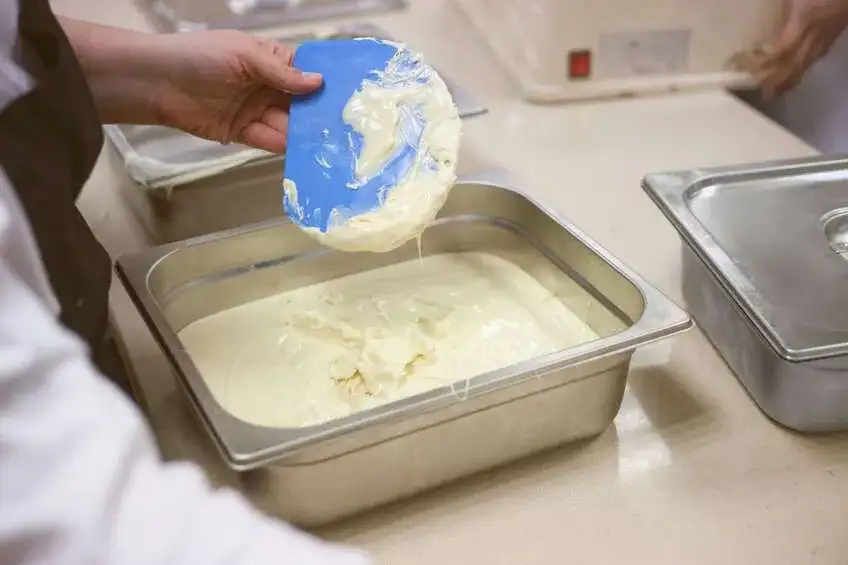
How To Color White Chocolate, Modeling Chocolate, and Candy Melts
Colored chocolate offerings are attractive options you can provide to your customers when you’re marketing your sweet delicacies. Since colored varieties of chocolate gain popularity quickly, it’s wise to learn how to color chocolate and create artisanal delights for those interested in not just the taste of chocolate, but also the craft.
Coloring chocolate involves various methods and you can adopt any of these techniques when you’re creating colored white chocolate or when preparing colored modeling chocolate for more specialized delights.
- Appropriate Food Coloring For Chocolate
It is best to not use water or gel-based food coloring when trying to color white chocolate and other confectionery items like candy melts. Water can cause white spots to develop in the final product, and also hampers the tempering process of chocolate. It can also create lumps in the melted chocolate and bring about a rough and dull texture to the final product. The following alternatives are far more appropriate when you’re trying to learn how to color chocolate:
- Oil-based Food Color: This is one of the best options for coloring white chocolate and confectionery coating (candy melts) as it's capable of dissolving with the fat in the chocolate and the candy melt. It’s best added at a slow pace to melted white chocolate after being warmed. It does not change the structural integrity of the chocolate and doesn’t hamper the tempering process.
- Powdered Food Color: There exist chocolate-specific food coloring options which are made of dried cocoa butter powder that is colored. These options are ideal for both conventional white chocolate & modeling chocolate as they blend perfectly with the base ingredient of the chocolate, i.e., cocoa butter.
- The Process of Coloring White Chocolate and Candy Melts
- What You Will Need
- White chocolate
- Oil-based or powdered food coloring
- A heatproof bowl
- A saucepan or a microwave
- A chocolate mold
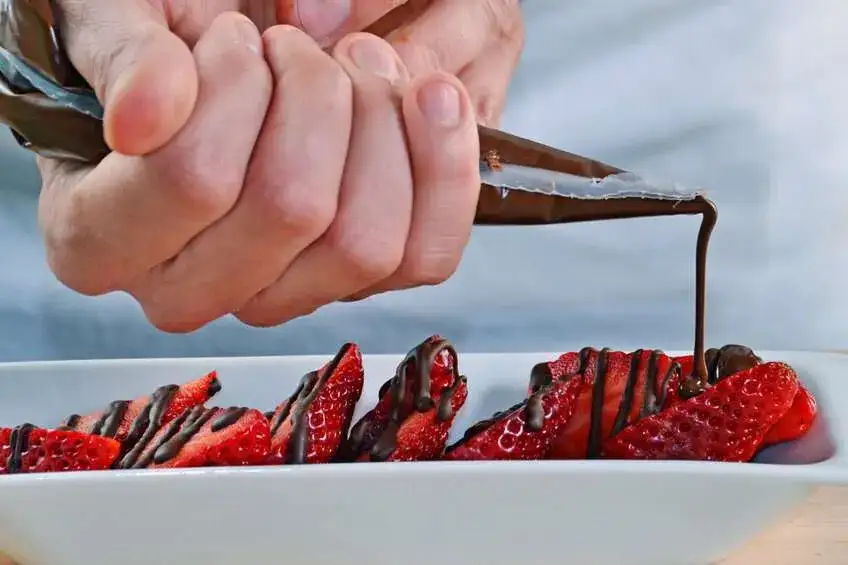
- The Process
- Break up the white chocolate into small pieces and place them in a heatproof bowl. Ensure your hands are washed and dry before you do this to avoid impurities from getting into the chocolate.
- To melt the chocolate, you can either use the Bain Marie method which involves melting the chocolate in a bowl placed over a boiling water bath, or by using a microwave.
- For the Bain Marie method, bring water to a boil in the saucepan. Make sure the water is between one and three inches from the bottom. Place the heatproof bowl over the boiling water, and ensure that the bowl does not touch the water. Add the chocolate to the bowl and melt it by stirring continuously, making sure the chocolate turns into a uniform liquid.
- For the microwave method, place the bowl with the chocolate in the oven and heat it in short sessions of 30 seconds. Keep stirring the chocolate around to ensure the heat is distributed evenly after each session. As the chocolate begins to melt, shorten the heating periods to 20 seconds, followed by 10 seconds until the chocolate is a uniform liquid.
- To add the oil-based food coloring, warm up the food coloring by placing the container in warm water.
- If you’re using coloring that came in a squeeze bottle, add a few drops of it to the melted chocolate and stir well until the mix is evenly colored. To avoid burning the chocolate, you will need to take it off the water bath or from the microwave from time to time. You might also have to reheat the mix to achieve the desired consistency throughout the coloring process. However, make sure you don't overheat the chocolate as this might cause the mix to thicken and seize up.
- Add more coloring until you reach the required shade.
- If you’re using powdered food coloring, add in small amounts of the powder and mix thoroughly. Add more as needed and stop when you reach the desired hue.
- The same method can also be applied when coloring or melting candy melts.
- If your candy melts thicken too quickly or seizes up during the mixing process, you can always add in a small amount of vegetable oil to achieve the desired consistency. However, avoid adding too much vegetable oil as this will hamper the setting & tempering process later on.
- Once you’ve colored the chocolate, scoop or spoon the mix into a chocolate mold and allow it to rest and set at room temperature.
- Place the set chocolate in the refrigerator for about an hour so it sets perfectly.
- Since chocolate contracts when it cools, it’s best to place something over the mold when the chocolate is in the refrigerator. This helps prevent shape loss, especially in artisanal chocolates that come out in delicate shapes.
- Avoid refrigerating chocolate close to foods that have pungent odors as chocolate is known to absorb odors.
- Keep the set chocolate stored in the refrigerator until you want to sell or use them for preparing confections.
- The Process of Coloring Modeling Chocolate
- What You Will Need
- Modeling chocolate or candy clay
- Oil-based or powdered food coloring
- Food-grade safety gloves
- A bowl
- The Process
- This method applies to small amounts of modeling chocolate. In case you require large batches of a single color, you can melt candy melts and add in corn or glucose syrup to create a pliable texture to make modeling chocolate.
- Take your desired quantity of modeling chocolate in a bowl and handle it only after wearing a clean pair of food handling gloves.
- Knead the modeling chocolate and make a flat shape. Add a drop of oil-based food coloring and begin kneading the chocolate until it has taken on the color completely.
- Add more drops until you reach the desired shade.
- If you’re using powdered food coloring, add small amounts of the powdered coloring to the modeling chocolate and knead until it is uniformly colored.
- Add more powder as needed until you get the required shade and hue for the modeling chocolate.
- Colored modeling chocolate is always best made right before use.

Now that you know how to color chocolate and how to make white chocolate and candy melts, you can now expand the list of offerings at your establishment. Artisanal treats and colored bites are sure to grab your patrons’ attention and drive your confection sales in the long run. Be sure to follow this guide and implement these simple methods on how to color white chocolate, modeling chocolate, and candy melts to the best of your ability for the best results.
